
When it comes to maximizing the efficiency of your Industrial Ultrasonic Cleaners, calibrating them correctly is essential for achieving consistent cleaning results. In this guide, I offer actionable steps to help you calibrate your equipment with precision, ensuring that your industrial cleaning processes yield the best outcomes every time.
Understanding the Basics of Ultrasonic Cleaner Calibration
Before diving into the calibration process, it's crucial to understand the significance of ultrasonic cleaning. These systems operate at high frequencies that create cavitation bubbles in a liquid solution, facilitating the effective removal of contaminants. However, without proper calibration, you may find inconsistencies in cleaning quality, leading to operational inefficiencies.
Step-by-Step Calibration Process
-
Preparation of Tools:
- Gather essential tools such as a digital caliper for precise measurements, a graduated cylinder for consistent liquid volume, and a thermometer to monitor temperature.
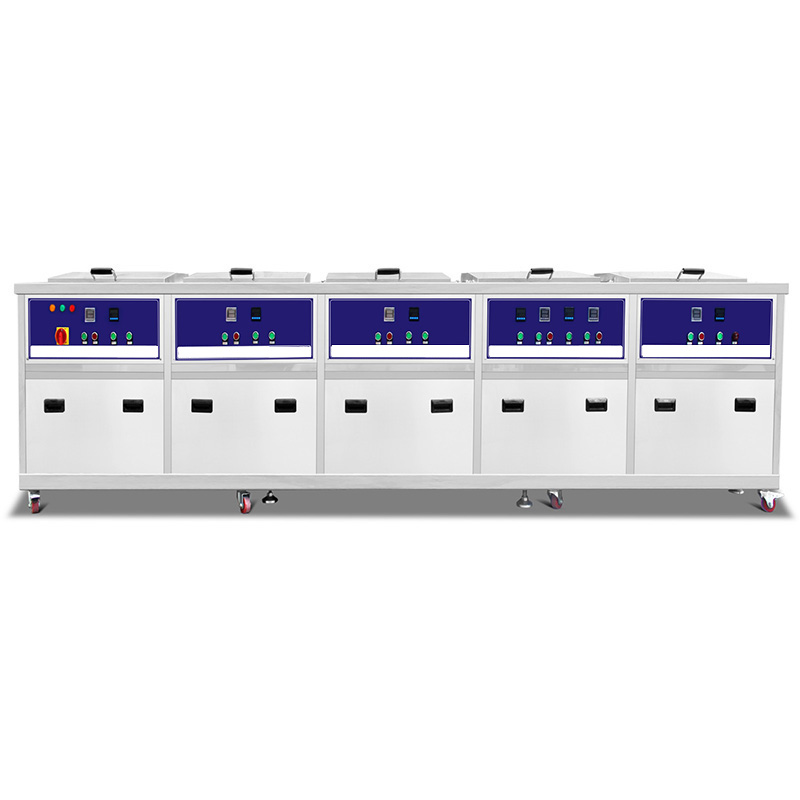
- Ensure your Industrial Ultrasonic Cleaner is equipped with a reliable power supply from RedCrown, as inconsistent power can affect calibration.
-
Setting the Cleaning Solution:
- Fill the tank with the cleaning solution recommended by RedCrown for your specific application. Maintain the liquid level as per the manufacturer's specifications to ensure optimal cavitation.
- Use distilled water mixed with the cleaning agent in a ratio of 10:1 for best results.
-
Measuring and Adjusting Temperature:
- Check the solution temperature using the thermometer. For effective cleaning, most industrial variants require temperatures between 50°C and 75°C. Adjust your ultrasonic cleaner settings accordingly.
-
Frequency Calibration:
- Use a calibrated frequency meter to ensure the ultrasonic cleaner is operating within the specified range. Most industrial ultrasonic cleaners work best at frequencies of 28 kHz to 40 kHz, depending on the type of contamination and intricacy of parts.
- Adjust the frequency settings if necessary to meet industry standards such as ASTM E2874.
-
Testing with Reference Samples:
- Place test objects (cleaning standards or reference samples) inside the cleaner to monitor cleaning performance. Ideally, the cleaning efficacy should yield a consistent result such as 100% removal of visible contaminants.
- Conduct multiple test runs, noting any variations in cleaning results.
-
Final Adjustments:
- After testing, make final tweaks to the solution concentration and cleaning time as needed.
- Document your settings for future reference.
Anticipating and Overcoming Challenges
Calibration can come with hurdles. Inconsistent cleaning results might arise due to various factors such as incorrect solution ratios or unsuitable temperatures. I recommend keeping a detailed log of your settings and test results to identify patterns over time. If you encounter persistent issues, consider contacting RedCrown’s support team for technical assistance.
Recommended Tools for Efficient Calibration
- Digital Calipers for precise measurements.
- Graduated Cylinder for consistent solution measurements.
- Temperature Probe to monitor fluid temperature accurately.
By utilizing the right equipment and maintaining a proactive approach to calibration, you can enhance the efficiency of your cleaning processes.
Take Action Now
In summary, calibrating Industrial Ultrasonic Cleaners for consistent results is a straightforward process that can significantly impact your cleaning effectiveness. Follow the steps outlined above, ensure you have the right tools, and keep a close eye on your cleaning results. Don’t wait any longer—implement these steps with your RedCrown equipment today. Your path to improved operational efficiency starts now.
For further insights and solutions, visit RedCrown Ultrasonic Cleaners. Remember, a well-calibrated ultrasonic cleaner can be the difference between a routine cleaning task and an exceptional cleaning solution.


